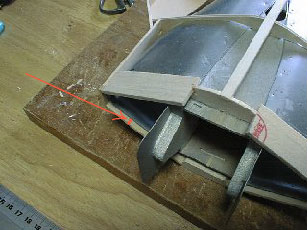
Central fuselage intake and outlet construction.
update 2003/10/06, This page translated by Nayumi and Lorne Craig.
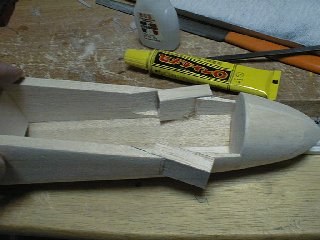
At the duct intakes use 3mm sheet above and below as pictured. When you install the sheet leave 3mm overhanging for attaching tri-stock. Box in the duct inlet opening with 3mmx3mm tri-stock.
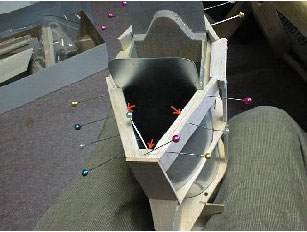
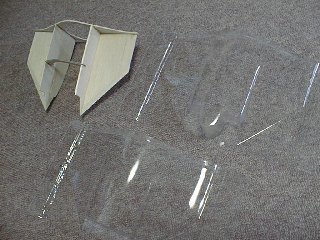
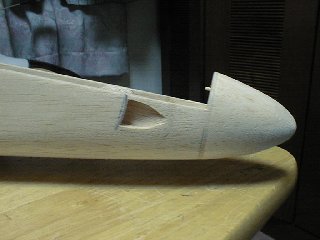
Exhaust VENTURI. The rear of the fuse wich forms the exhaust venturi is so curved that sheeting it in would be difficult. So vacuum formed parts have been supplied. Assemble the framework and to this attatch plastic parts. I used contact cement for vinyl. I applied this to edges of plastic parts and waited for a minute or two then put halves together.
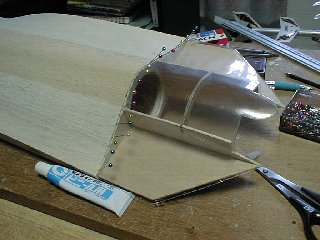
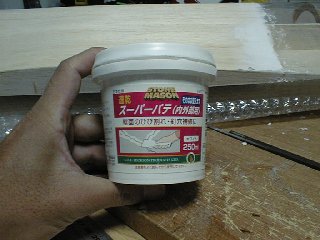
FINISHING EXUAST VENTURI. No matter how careful you are there will be some gaps between the plastic parts and balsa sheeting. I filled these gaps in with filer. AsahiBen Ltd. produces "Super Quick Filler" a 250 ml container costs only 580 yen. There is a large size too. You can find or order them from home hardware stores.
Now we move to the making of the cockpit section. In particular the battery compartment. Heat can build up here. Therefore I installed cooling vents. I got this idea from Mr Kumagai. He's a member of crosswind fliers.
Use 10mm Balsa like in the the left picture below. Use some 0.4mm ply on one side and 1.5mm on the other.
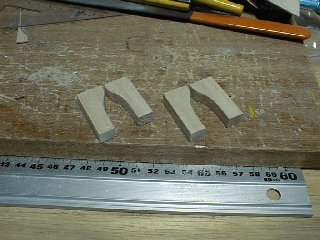
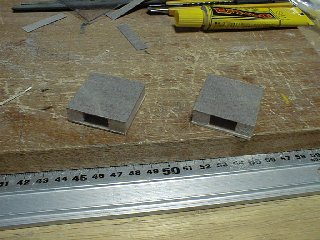
I put these assembles into the cockpit wall at angles, see below. Now cut them off flush to the outside surface of the fuse.
This page translated by Nayumi and Lorne Craig.
Next